Route Flowchart









Skip:
Route Notes
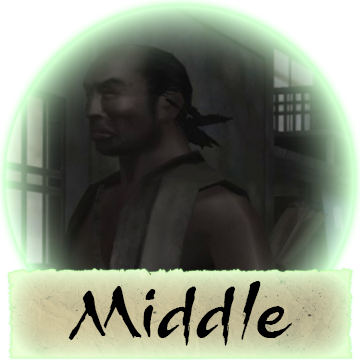
- To transition from Step 4 to Step 5, re-enter the district by backtracking through the gate and run to the North of Middle's body. Take care to avoid running on top of or near him, as you can accidentally pick up his Bow by doing this.
- Steps 5 through 7 are interchangeable and can be done in any order.
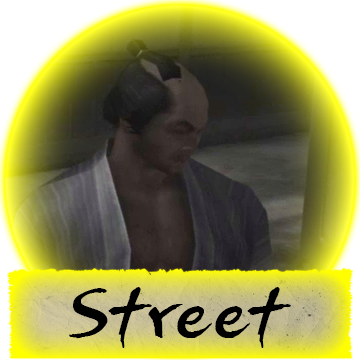
- If Street is put into a Yellow Meter state when jumping over the gap from Step 11 to Step 12, consider using a Blowgun instead of chasing after him down the slope. Slash SKs can be difficult to gauge on such a severe slope, and whiffs typically translate into Uneven Terrain SKs. If you do Blowgun, it's advisable to wait until he stops moving before firing it off.
- Note the Ki Meter's proximity indicator to gauge where Topside is in his cycle.
- If this pattern is done at a fast pace, you can sometimes catch Topside as he's walking South. If this occurs, roll to the West and stay crouched while using a Blowgun.
- If Topside is in the alley to the South of the East building, run close to the fence after picking up the Step 14 bomb to trigger a Purple Meter state. As you enter the topside area while proceeding towards the Step 16 bomb, turn around and Blowgun Topside if he's far away or Slash SK if he's close to the opening in the fence.
- To transition from Step 16 to Step 17, grab the Step 16 bomb while facing diagonally towards the corner of the wall and the lantern to the North of the bomb. Upon picking up the Step 16 bomb, immediately R-Jump to land on top of the wall. This avoids a ledge grab and climb-up animation. Roll off of the wall outside of the district and proceed to the Step 17 pickup.
~14.2% Pattern Frequency | Best Known Time - 1:29.9 by Ondrej
~Embed vijeo here~